
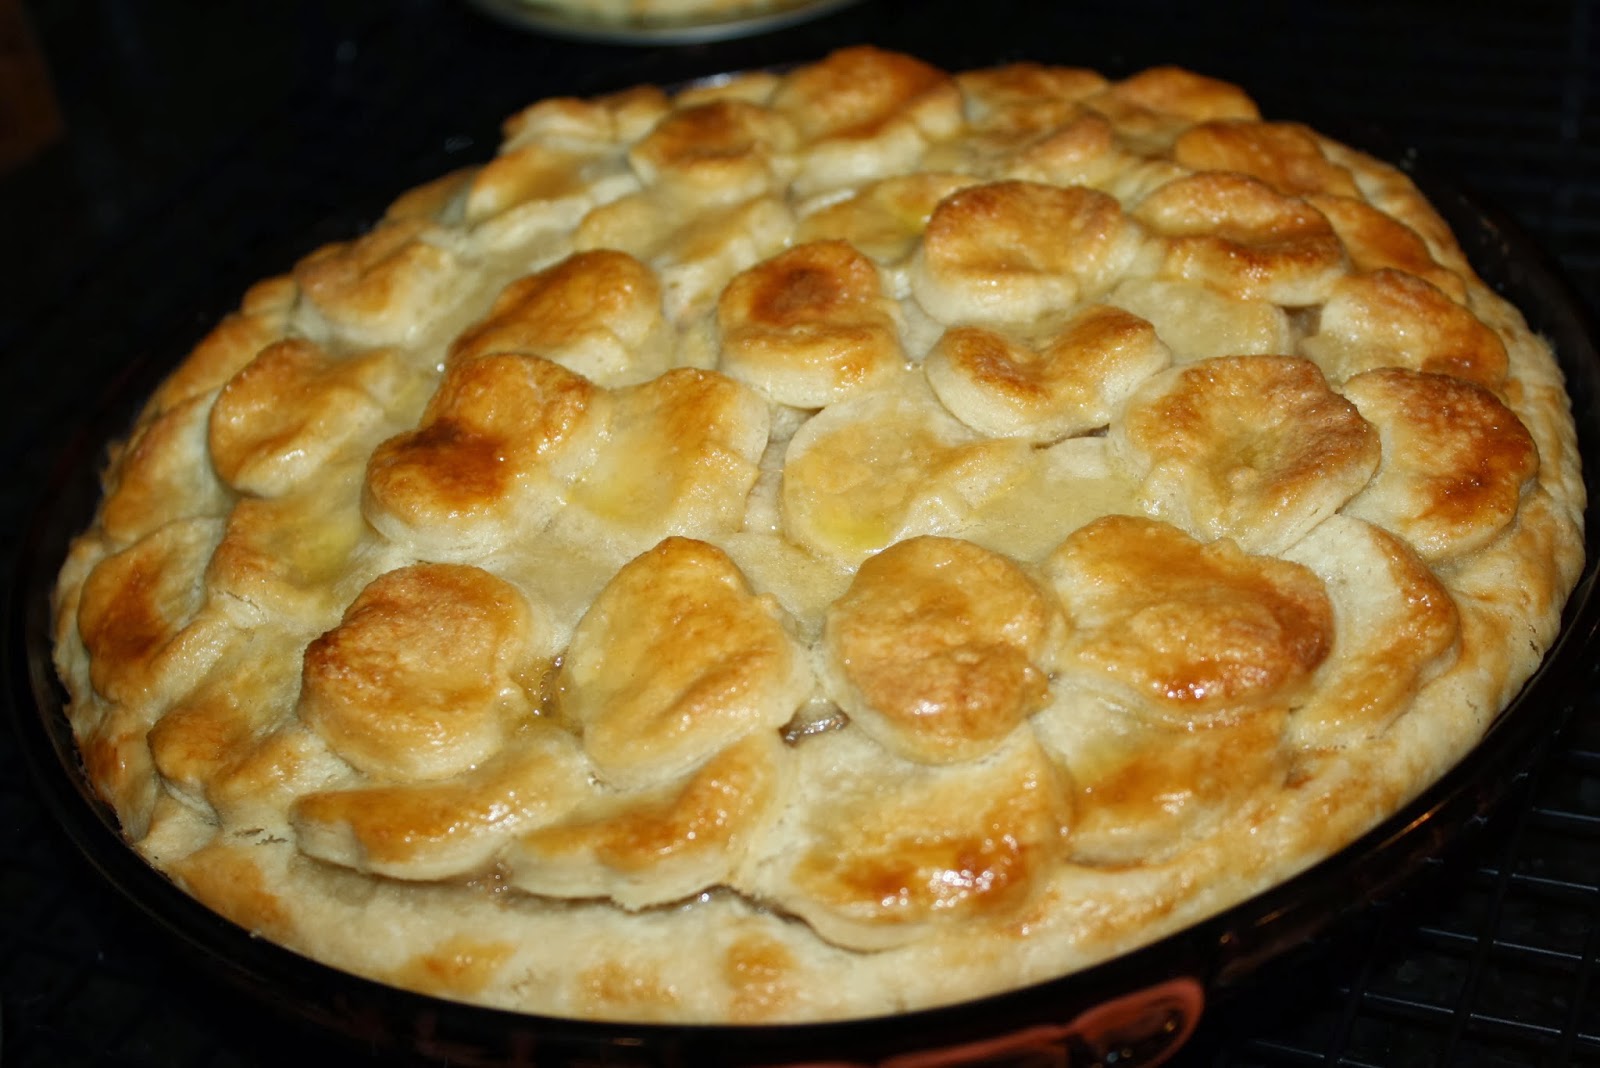
FUJI APPLES = FIRST ATTEMPT WITH DULCE DE LECHE


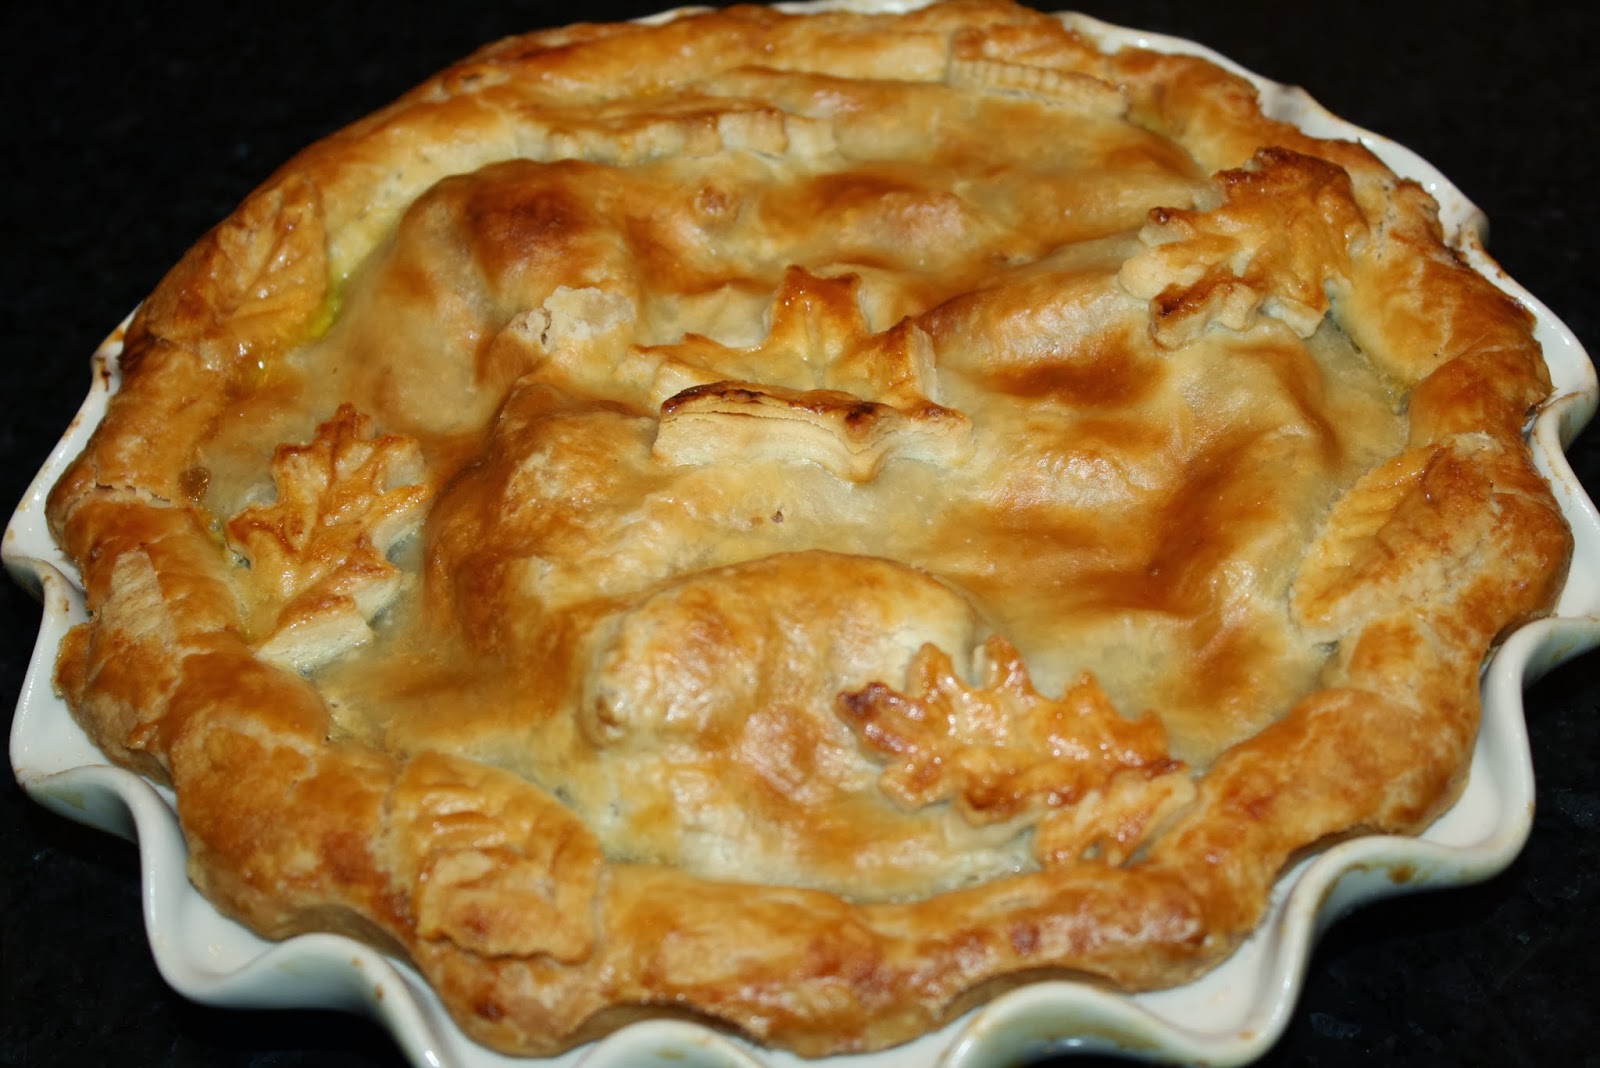
GRANNY SMITH APPLES = 2ND ATTEMPT WITH CARAMEL SAUCE


Ingredients {for the apple filling}: Enough for one pie
- Firm Apples- 6 large Fuji apples (sweeter) or Granny Smith (more tart)
- Sugar- 2/3 cup *See Notes at the bottom
- Cinnamon- 1 1/2 tsp.
- Dulce de Leche (this takes 2 hours) – Use half of the can in the apples and the other half for topping or regular caramel sauce
- Flour- 1/4 cup
- Egg, beaten- 1 ( for brushing on top)
- Coarse Sugar- 1 tbsp. (I used sugar in the raw)
Method:
Peel and core your apples and slice them thinly. In a large mixing bowl combine sliced apples, sugar, cinnamon, flour and half can of dulce de leche. Making sure dulce de leche evenly coats the apples.
Method: {How to put your pie together}
Preheat your oven to 400F/200C
- Take your pie crust out of the fridge and cut 2/3 off. Roll it out on a floured surface, drape it on your rolling pin and carefully transfer your pie crust into the pie plate. Make sure your pie crust hangs over the edges a little bit which will help to bring bottom and top crust together.
- In a large bowl add in the sugar, cinnamon, and flour. Mix together completely. Add your apples on top of the dry mixture and mix all together coating the apples. Pour in your half can of Dulce de Leche or caramel sauce and mix completely. I’ve done both ways. Regular caramel makes it a lot sweeter. Fill your pie crust with the apple mixture using all of it for one 9 inch pie.
- Let’s get creative and make the top crust! Roll out the remaining pastry on a floured surface and cut out little shapes with a pastry/cookie cutter. I used my apple cookie cutter but you can you use anything you love.
- Brush the pastry that covers the rim of your pie plate with the egg wash and start placing the little pastry “apples” on the outer row making sure they are connected to the edges of the bottom crust, overlapping them slightly and brushing each circle with the egg-wash to make individual cut out “apples” stick to each other and to give your pie an attractive shiny and golden finish. It’s okay to leave a little space between the pastry “apples” as it will act as slits and will allow the pie to ventilate while baking. Once you finished the first row, continue the same way until the whole pie is covered.
5. Don’t forget to brush it with the egg wash, it will seal all the individual bits of pastry and give your pie a beautiful golden color. Sprinkle with 1 tbsp. of coarse sugar.
6. Put the pie in the oven on the lower rack and place a large baking sheet/pan with a little water in it, to catch all the drips from the pie to eliminate a lot of mess in the oven. Bake for 20 minutes with a light drape of foil over the crust so it doesn’t burn, then reduce the temperature to 375F/190C and bake for 40-50 minutes removing the foil, until the crust is golden and the apples are soft. If your apples are very ripe it will take less time to cook but it might take longer if your apples are not very ripe. In this case, loosely cover your pie with some foil and continue baking until the apples are tender all the way through. (Test with a knife for doneness, it should pierce them easily).
7. Once your pie is baked. Cool it for several hours. If you cut into it too early it will be very runny, however waiting a bit longer allows for all the juices to thicken so you don’t end up with an apple soup at the bottom of your pie plate. Serve drizzled with a tablespoon of dulce de leche.
*Note: The amount of sugar will depend on the sweetness of your apples. Mine were very green and very tart so I used 2/3 cup sugar plus dulce de leche and it was perfect. However, you might need less sugar than I did so always taste your apples before you put them into your pie.I always make my own Dulce de Leche.
Inspired by:
Dulce de Leche Recipe:
Pie Crust Recipe:


Recent Comments